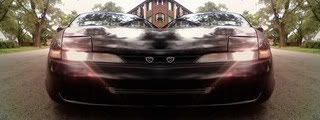
1/ Find the center and mark off the location with a marker, hood, roof, hatch, evenly split the width of the stripe and mark with a marker.
2/ Using pin-striping mask off tape, lay it down over marker spots, make sure to keep your tape straight.
3/ Step back and look over your taping to check if every thing looks straight and the hood, roof and hatch all are lined up.
4/ If every thing looks good mask off using a wider paint masking tape and then cover everything you don’t want painted. (over spray gets into every little spot)
5/ Sand lightly with 400 grit paper all areas being painter.
6/ Clean all to be painted areas with a paint-prepper, you don’t need to apply to much.
7/ You are ready to paint, remember to apply light coats of paint. This will prevent runs from happening. We only needed to coats of black.
8/ Ones the your paint is dry you will need to apply your clear coat, again apply thin even coats. Allow time for it to be tacky before applying your next coat. We add three coats of clear mixed with black to get the look we wanted.
9/ Ones the clear is tacky you need to remove the tapped off inner stripes or you will have problems with lifting. Pull the tape back at about 45°, you have to be careful not to touch your tacky clear or you will leave marks. (these marks can be buffed out in a week or two)
10/ Then remove the rest of the masked off areas, again be careful not to touch the fresh paint.
11/ After clear has set remove any inner masked off badges to prevent paint damage.
12/ Next day wash off your car to remove any over spray dust, but be careful around the new paint. (Clear takes 2 weeks to reach it’s full hardness.)
We may be still adding ghost flames into the stripe using candy apple red.
Thanks Paul!


